Sunday, June 26, 2005
Koi Pond - Brick Wall
Now that the foundation is done, the next step is to build up the wall for the pond. We use bricks and mortar for this purpose. 1 part cement with 3 parts sand. Wire mesh to be layed in between the bricks for every 3 layers too, to strengthen the wall.
The process took about 3 days
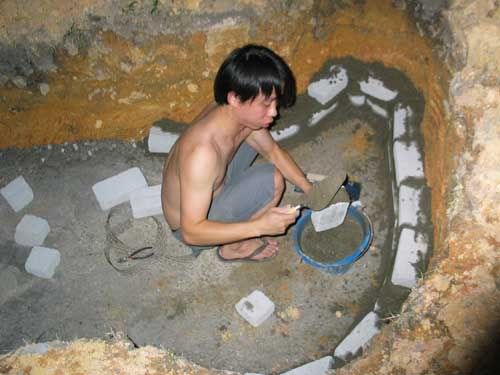
I started out at the deepest end, the corners are particulary tough
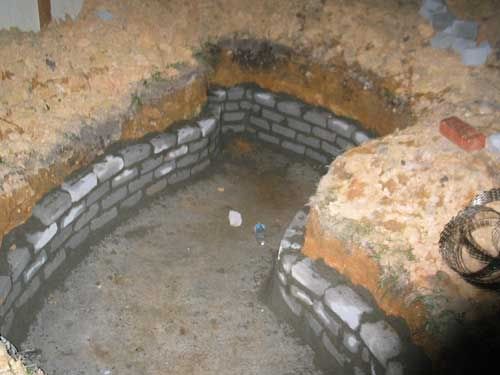
Working the way up..
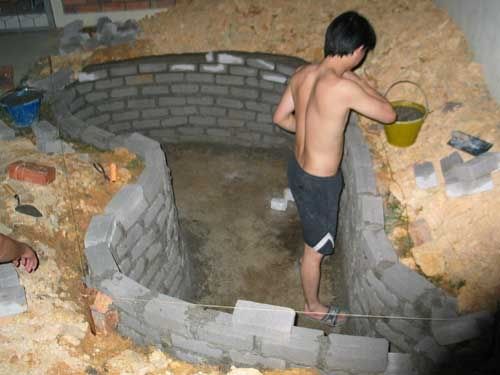
The lines are for leveling purposes
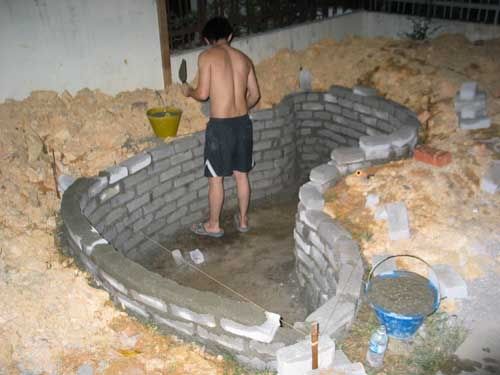
You can see the lines more clearly here
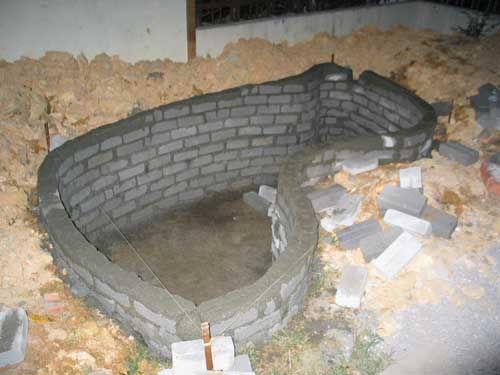
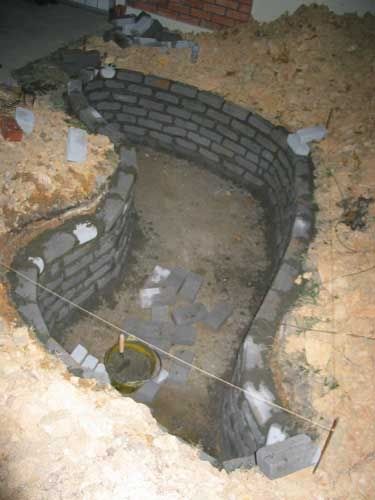
All nice and leveled up, the hole at the far end is left for the overflow pipe
Next up - Plastering the wall
|
Check out KY drives
The process took about 3 days
I started out at the deepest end, the corners are particulary tough
Working the way up..
The lines are for leveling purposes
You can see the lines more clearly here
All nice and leveled up, the hole at the far end is left for the overflow pipe
Next up - Plastering the wall
|
Check out KY drives
# posted by KY : 6/26/2005 01:00:00 PM

If you have arrived at this page via search engine or other links. Please note that I have moved. Take a look at
kyspeaks.com
![]()


